-40%
75/80 METER RESONATOR KIT FOR THE UJM-EFHW-40-10 200W 40-10m ANTENNA
$ 23.75
- Description
- Size Guide
Description
eB
a
y
'
s Top Portable Antenna Seller
If you are here, you probably own my 4010EFHW already and may be limited on space but would enjoy the opportunity to work the lower band/s. If so....read on!
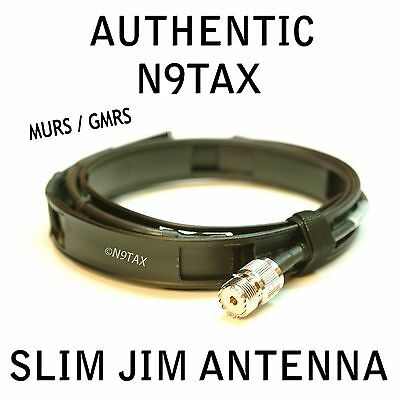
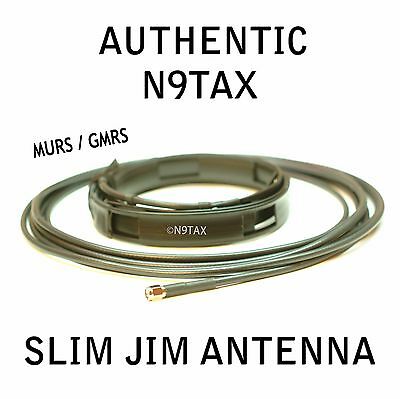
This item is not an antenna but an add on kit for my 65 foot, UJM-EFHW-40-10 antenna.
This "resonator kit" will add and make 75 and or 80 meters resonant on the 65 foot antenna you already have. Only works for my model UJM-EFHW-40-10 antenna.
After many hours of R&D, I have the combination needed to allow the addition of the 75/80 meter band with very minimal if any change to all other bands your antenna currently works. This is not the easiest task.
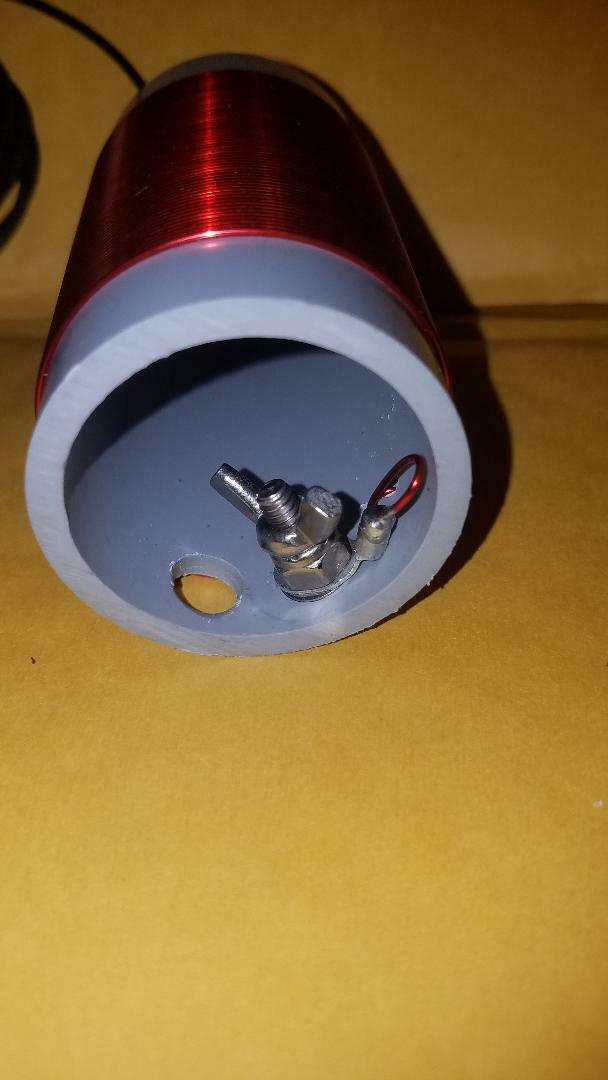
The coil is approx 3.6" X 2" and weighs 4.5 ounces.
This kit will only add roughly 6 to 6.5 feet to the length of your antenna. All parts needed to add the kit come with it as shown. All instructions are right here in this listing so no additional directions
need to be shipped with it.
Specs and directions shown below.
Typical lowest SWR will be 1.1:1 or 1.2:1 on the frequency you choose to center the kit at.
Typical 2.0:1 SWR bandwidth is 115kHz
Typical 3:0:1 SWR bandwidth is 210kHz
This will allow even picky built in tuners that can only tune a maximum of a 3:1 SWR to be able to pick what part of the band they want. For instance, if an operator is only running a picky built in tuner and wants to work 75 meters they can use the guide below to cut the resonator pigtail for around 3.9MHz so they will have the ability to tune up from 3.8 through 4.0MHz.
For wide band tuners it is suggested to use the guide below to tune the resonator kit for around 3.75MHz for full 75 and 80 meter coverage.
Directions:
Kit is shipped with a 91 inch pigtail which will allow those operators that want to be "best" in the lowest deepest part of the 80M CW portion of the band to be center tuned around 3.55MHz at the length shipped.
Pigtail frequency center tune reference chart below;
Pigtail length Lowest SWR
91" approx 3.55MHz
89" approx 3.65MHz
85" approx 3.7MHz
81" approx 3.78MHz
77" approx 3.85MHz
76" approx 3.9MHz
If you purchase this kit and you know that you prefer the lowest SWR at 3.9MHz please tune one step lower first and trim again if needed. So with the pigtail shipped at 91 inches, instead of cutting 15 inches off of it and assembling it straight away, start with the next step down (3.85MHz) and only trim 14 inches off first. Unless you have a better wire stretcher than I do, this is the best way hi hi.
When you receive your kit, you will find this is VERY easy to install. Here are the steps....
First, take a picture of the end of your antenna and how the end insulator is wound and clamped on the element. You will notice, it is wrapped around the insulator hole once. We will be doing this method on everything. You need to remove the nylon dog bone insulator from your element. This will later be moved over to the pigtail where it will be needed but for now, remove it and set it aside with the clamp.
Take the dog bone insulator off of the antenna you have by removing the wire clamp that has the 2 little 7mm nuts.
Your kit came with a ring terminal to solder onto the element of your antenna in place of the insulator. Strip 1/4" insulation off the end of your element wire and solder the ring terminal in place. You may crimp instead of soldering it but solder is highly recommended.
Next, you will attach your element with the ring terminal to the empty side of the resonator coil. Thread the ring terminal through the large hole at the end of the coil pulling roughly 6 inches of wire through and wrap it once so it looks just like the other end that came assembled. Once the wrap has been made, put the ring terminal over the stud on the inside of the coil and just snug it under the wingnut. Snug only, there is no need for it to be very tight, there will be no tension here . Now, manipulate the wire to be able to clamp it. Again, you are trying to duplicate what the coil looks like at the pigtail end that was shipped assembled. Don't over tighten the wire clamps either! Snug, is all they need to be!
Now, the antenna side of the resonator coil is done. The only thing left to do is for you to determine how much you would like to trim from the pigtail before putting your insulator on it. Using the chart and directions above, trim to length, test and trim again if needed. When you put your nylon dog bone insulator onto the trimmed pigtail, copy the way it was on the element by wrapping the wire through the insulator 1 additional time. Put the clamp in place to hold the insulator and snug it up.
You are now done and just added another HF band to your arsenal.
73
KD8UJM


